> ## Documentation Index
> Fetch the complete documentation index at: https://docs.gcore.com/llms.txt
> Use this file to discover all available pages before exploring further.
# Recover SSH access in recovery mode
Recovery mode opens a root shell on a Linux Virtual Machine or Bare Metal server from the console when the private key is lost and no console password is set. [Install a public key](#install-a-public-key) when SSH must accept a new key.
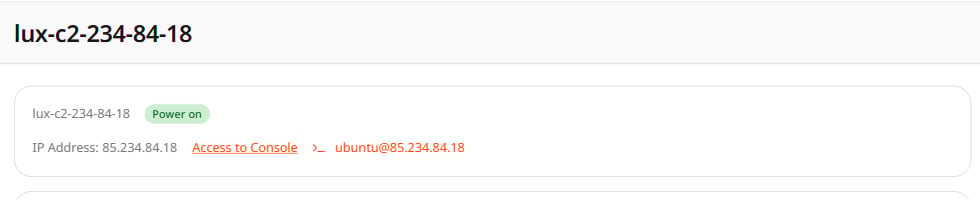
Log in to the [Gcore Customer Portal](https://portal.gcore.com) and navigate to **Cloud** > **Virtual Instances**. Open the Virtual Machine.
 Log in to the [Gcore Customer Portal](https://portal.gcore.com) and navigate to **Cloud** > **Bare Metal**. Open the Bare Metal server.
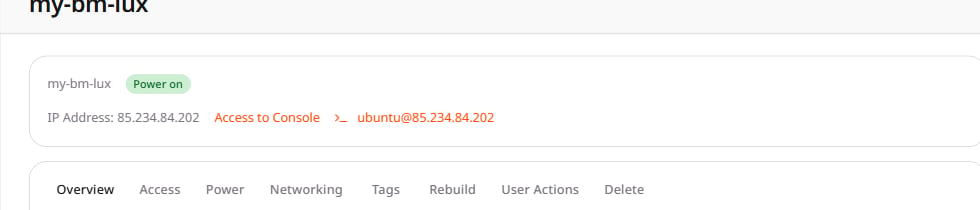 The login beside **Access to Console** is the account SSH accepts. On the Ubuntu image that account is `ubuntu`.
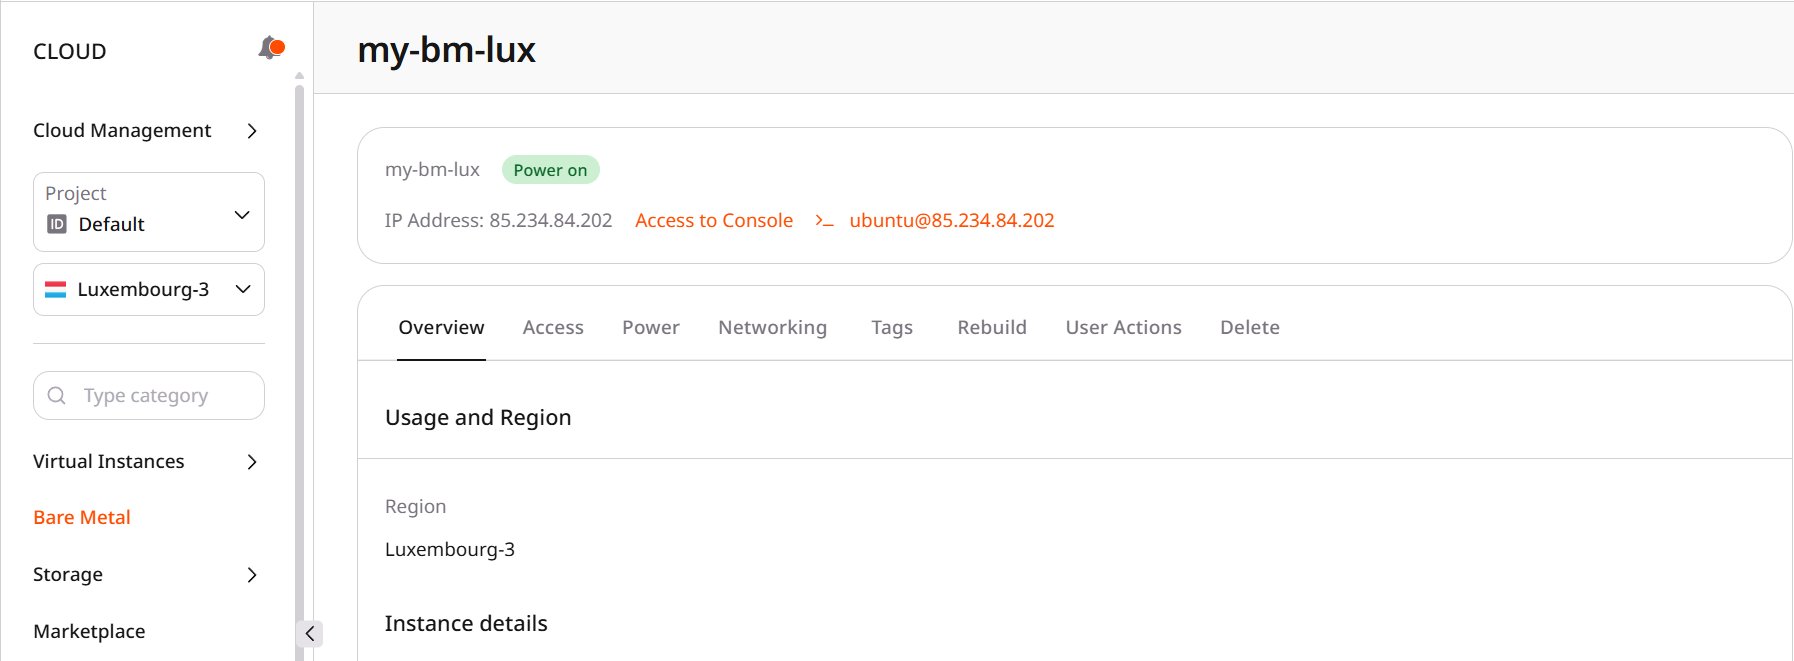 Click **Access to Console** to open the console in a browser tab, with **Send CtrlAltDel** at the top right.
Not every Bare Metal platform provides **Access to Console**.
Click **Access to Console** to open the console in a browser tab, with **Send CtrlAltDel** at the top right.
Not every Bare Metal platform provides **Access to Console**.
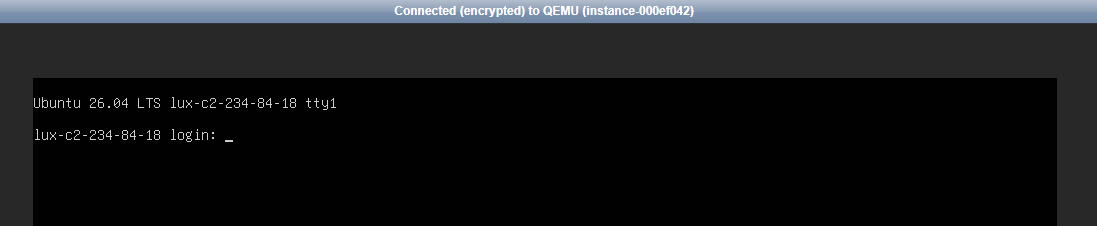 Open the boot menu before the login prompt:
1. Click the console screen so keystrokes reach the server.
2. Click **Send CtrlAltDel**.
3. Press Escape until **GNU GRUB** appears.
The GRUB menu stays hidden, and Escape registers only during `Booting from Hard Disk...`. If the Ubuntu login prompt appears, Escape missed the menu, so click the console screen and repeat this step.
Open the boot menu before the login prompt:
1. Click the console screen so keystrokes reach the server.
2. Click **Send CtrlAltDel**.
3. Press Escape until **GNU GRUB** appears.
The GRUB menu stays hidden, and Escape registers only during `Booting from Hard Disk...`. If the Ubuntu login prompt appears, Escape missed the menu, so click the console screen and repeat this step.
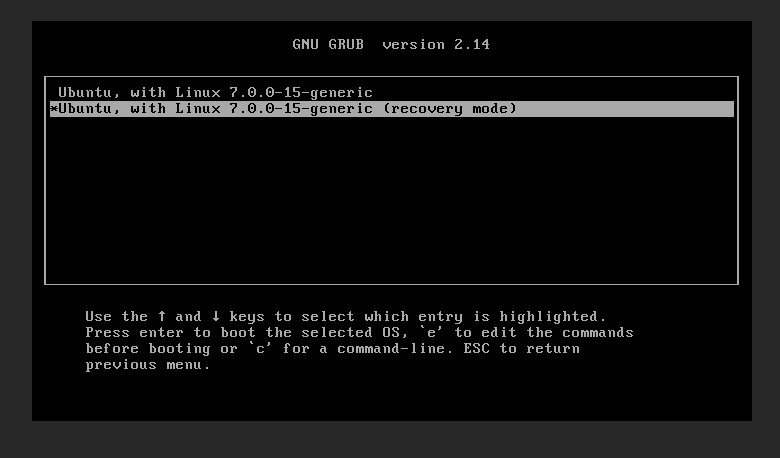
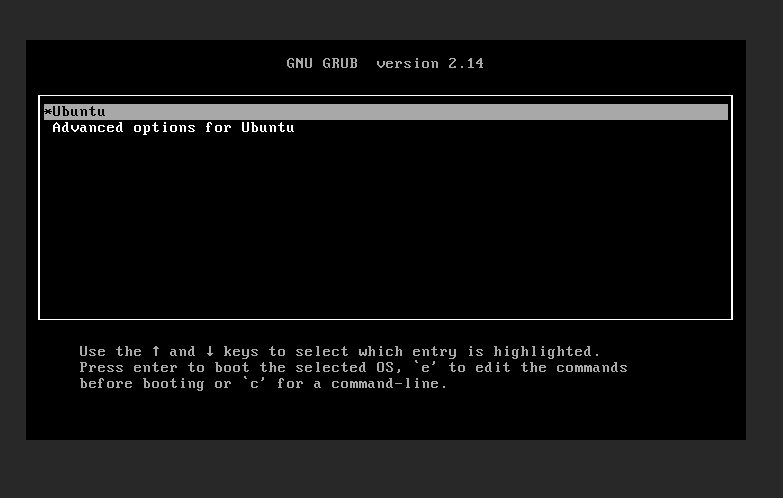 On an Ubuntu cloud image, select **Advanced options for Ubuntu** and press Enter. Then select the entry that ends with `(recovery mode)` and press Enter.
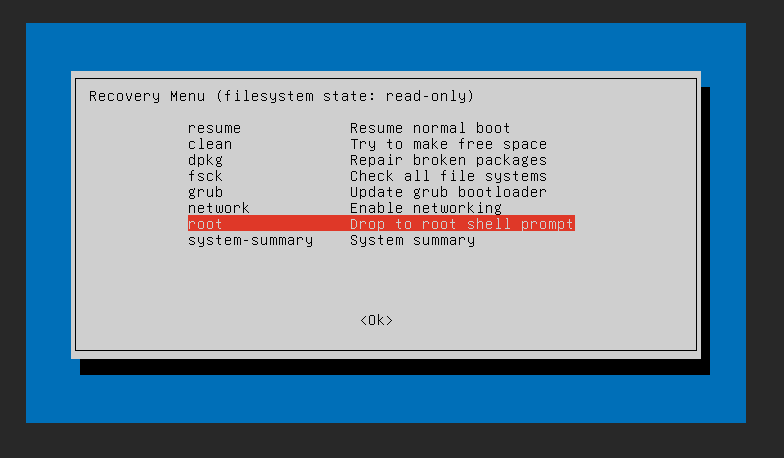
 In **Recovery Menu (filesystem state: read-only)**, select **root** (**Drop to root shell prompt**) and press Enter.
 At `Press Enter for system maintenance (or press Control-D to continue):`, press Enter. The menu frame can remain on screen after the shell starts, while the shell is active once a prompt ending in `~#` appears at the bottom.
## Install a public key
Use this section when the server must accept a new SSH key. The root shell from the procedure above is already open.
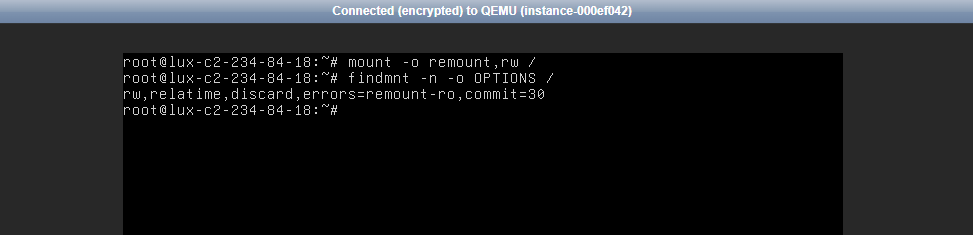
Recovery mounts the root filesystem read-only, so remount it before writing the key:
```bash theme={null}
mount -o remount,rw /
```
When the command returns to the prompt without an error, the root filesystem accepts writes.
At `Press Enter for system maintenance (or press Control-D to continue):`, press Enter. The menu frame can remain on screen after the shell starts, while the shell is active once a prompt ending in `~#` appears at the bottom.
## Install a public key
Use this section when the server must accept a new SSH key. The root shell from the procedure above is already open.
Recovery mounts the root filesystem read-only, so remount it before writing the key:
```bash theme={null}
mount -o remount,rw /
```
When the command returns to the prompt without an error, the root filesystem accepts writes.
 Write the new public key for the login beside **Access to Console** into `authorized_keys` on the local disk. On Ubuntu the file is `/home/ubuntu/.ssh/authorized_keys`, and when the login label names another account, use that account's home directory.
```bash theme={null}
printf '%s\n' 'PUBLIC_KEY' > /home/ubuntu/.ssh/authorized_keys
```
Replace `PUBLIC_KEY` with the OpenSSH public key on one line.
The `>` operator replaces the file, so keys already in it stop authenticating.
Set ownership and modes, then run `sync` before the reboot:
```bash theme={null}
chown ubuntu:ubuntu /home/ubuntu/.ssh /home/ubuntu/.ssh/authorized_keys
chmod 700 /home/ubuntu/.ssh
chmod 600 /home/ubuntu/.ssh/authorized_keys
sync
```
Keep `/home/ubuntu` at mode `750`, because SSH succeeded with that mode on the Ubuntu image.
Reboot into the default GRUB entry:
```bash theme={null}
reboot
```
From a client that holds the matching private key, connect with the login from the server page:
```bash theme={null}
ssh -i /path/to/private_key ubuntu@INSTANCE_IP
```
Replacing `authorized_keys` makes the previous private key fail with `Permission denied (publickey)`.
Add [multiple SSH keys](/cloud/virtual-instances/troubleshooting/troubleshoot-issues-with-ssh-connection#lost-ssh-key-and-cannot-connect) at creation time. Set a console password in user data for a [Virtual Machine](/cloud/virtual-instances/customize-initial-setup-for-your-instance#set-a-password-for-a-virtual-machine) or a [Bare Metal server](/cloud/bare-metal-servers/connect-to-your-bare-metal-server-via-ssh#connect-with-a-password) so the console opens without the SSH key.
Write the new public key for the login beside **Access to Console** into `authorized_keys` on the local disk. On Ubuntu the file is `/home/ubuntu/.ssh/authorized_keys`, and when the login label names another account, use that account's home directory.
```bash theme={null}
printf '%s\n' 'PUBLIC_KEY' > /home/ubuntu/.ssh/authorized_keys
```
Replace `PUBLIC_KEY` with the OpenSSH public key on one line.
The `>` operator replaces the file, so keys already in it stop authenticating.
Set ownership and modes, then run `sync` before the reboot:
```bash theme={null}
chown ubuntu:ubuntu /home/ubuntu/.ssh /home/ubuntu/.ssh/authorized_keys
chmod 700 /home/ubuntu/.ssh
chmod 600 /home/ubuntu/.ssh/authorized_keys
sync
```
Keep `/home/ubuntu` at mode `750`, because SSH succeeded with that mode on the Ubuntu image.
Reboot into the default GRUB entry:
```bash theme={null}
reboot
```
From a client that holds the matching private key, connect with the login from the server page:
```bash theme={null}
ssh -i /path/to/private_key ubuntu@INSTANCE_IP
```
Replacing `authorized_keys` makes the previous private key fail with `Permission denied (publickey)`.
Add [multiple SSH keys](/cloud/virtual-instances/troubleshooting/troubleshoot-issues-with-ssh-connection#lost-ssh-key-and-cannot-connect) at creation time. Set a console password in user data for a [Virtual Machine](/cloud/virtual-instances/customize-initial-setup-for-your-instance#set-a-password-for-a-virtual-machine) or a [Bare Metal server](/cloud/bare-metal-servers/connect-to-your-bare-metal-server-via-ssh#connect-with-a-password) so the console opens without the SSH key.