> ## Documentation Index
> Fetch the complete documentation index at: https://docs.gcore.com/llms.txt
> Use this file to discover all available pages before exploring further.
# Manage DNS records
Discover how to create and manage DNS records in the Gcore Customer Portal.
**Info**
Please note that the article refers to the non-advanced mode. First, make sure that the advanced mode toggle switch is set to "off":
 If you want to configure balancing and dynamic response, use our guide on [advanced balancing](/dns/dns-records/manage-dns-records-advanced-interface-mode-with-balancing).
## Create a DNS record
1\. Navigate to [All zones](https://portal.gcore.com/dns/zones) and select the domain zone for which you want to add records. Or, click the three-dot icon on the right and then click **Go to records**.
If you want to configure balancing and dynamic response, use our guide on [advanced balancing](/dns/dns-records/manage-dns-records-advanced-interface-mode-with-balancing).
## Create a DNS record
1\. Navigate to [All zones](https://portal.gcore.com/dns/zones) and select the domain zone for which you want to add records. Or, click the three-dot icon on the right and then click **Go to records**.
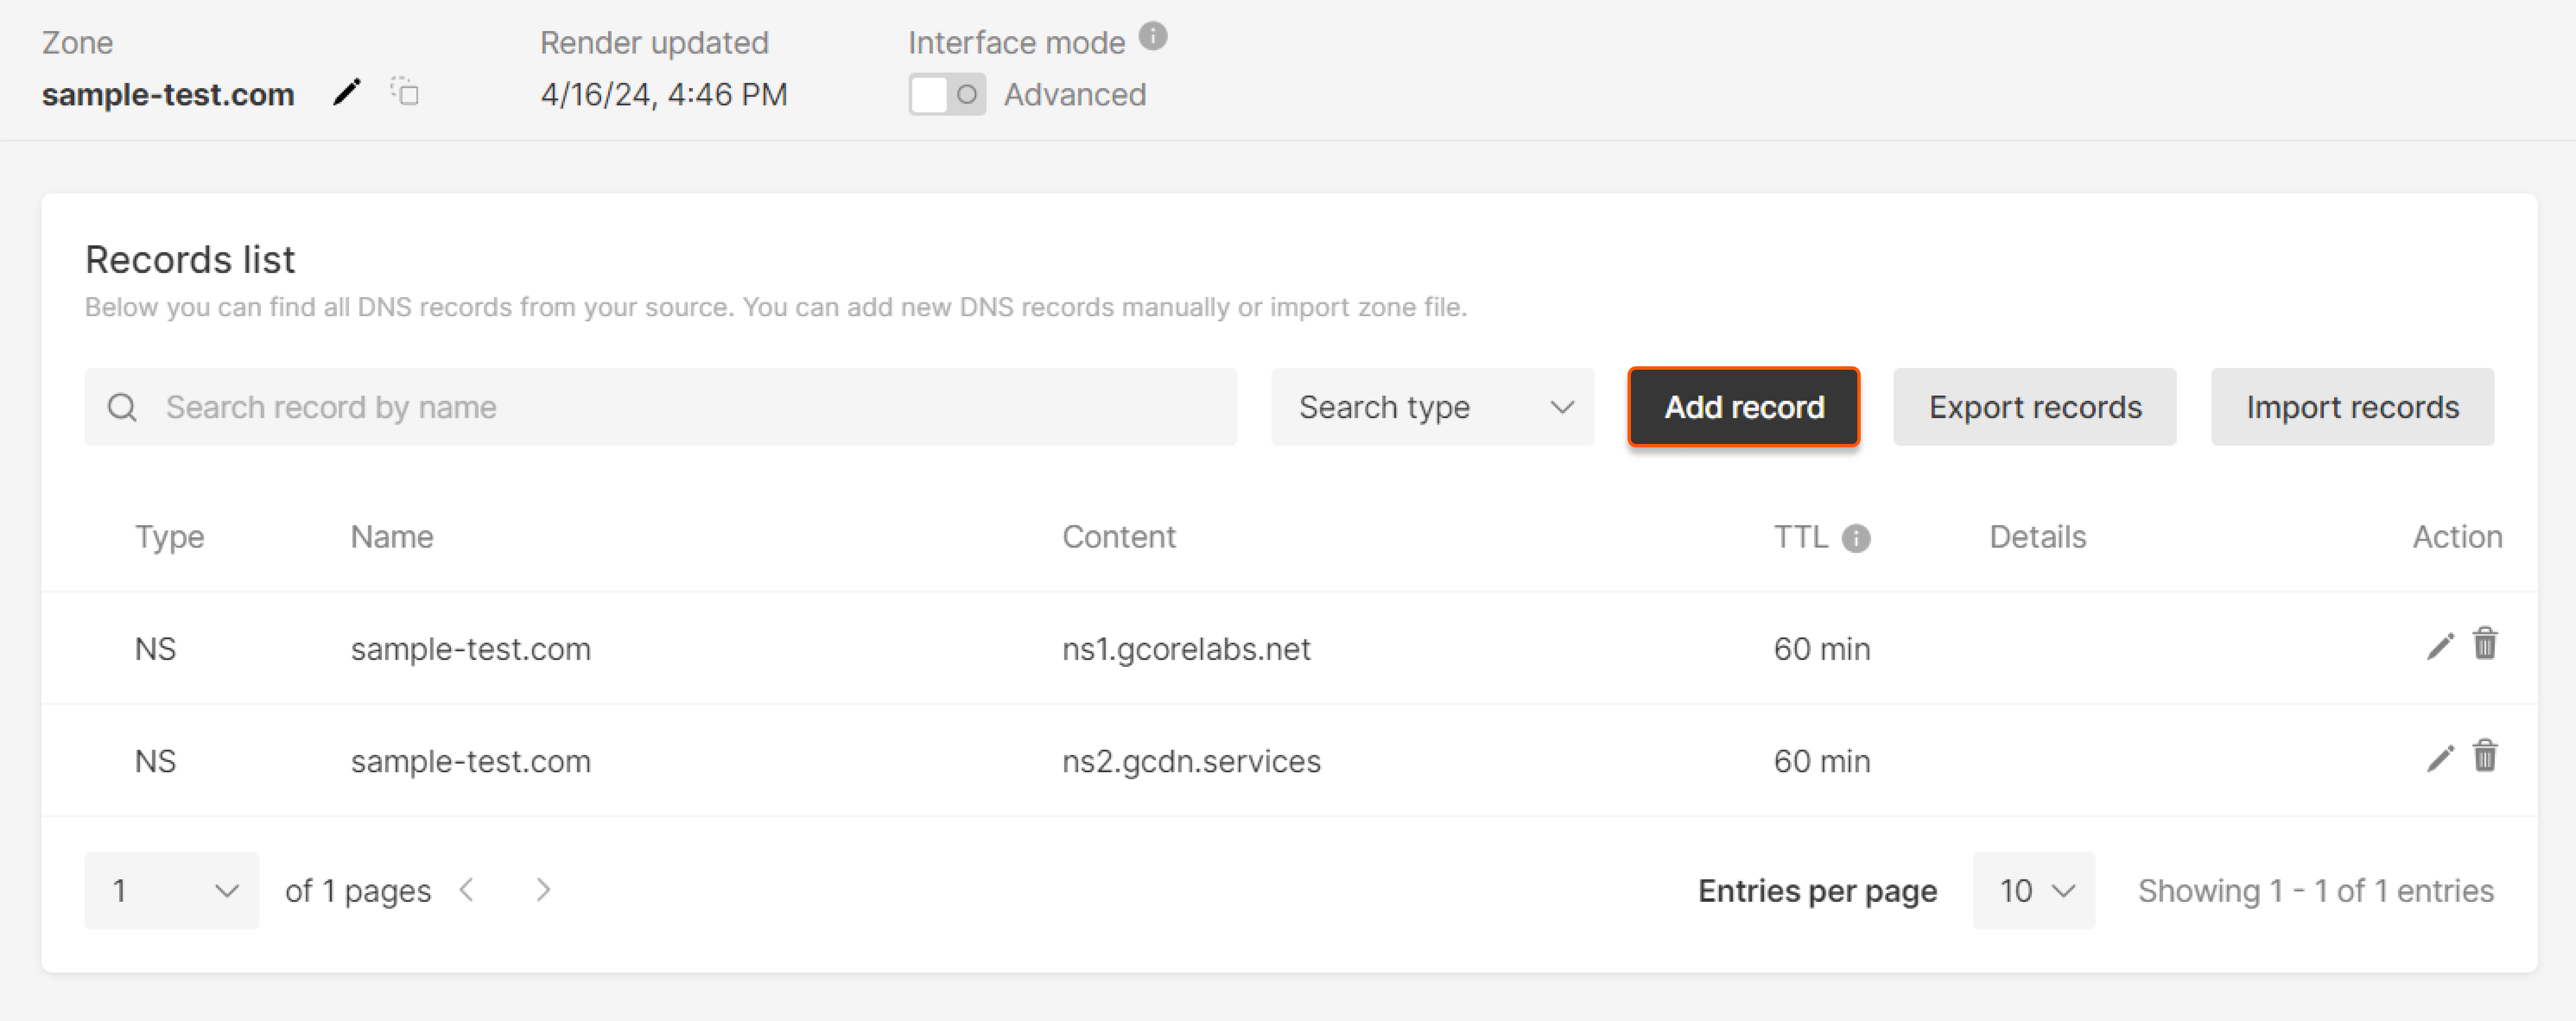 2\. Click **Add record**.
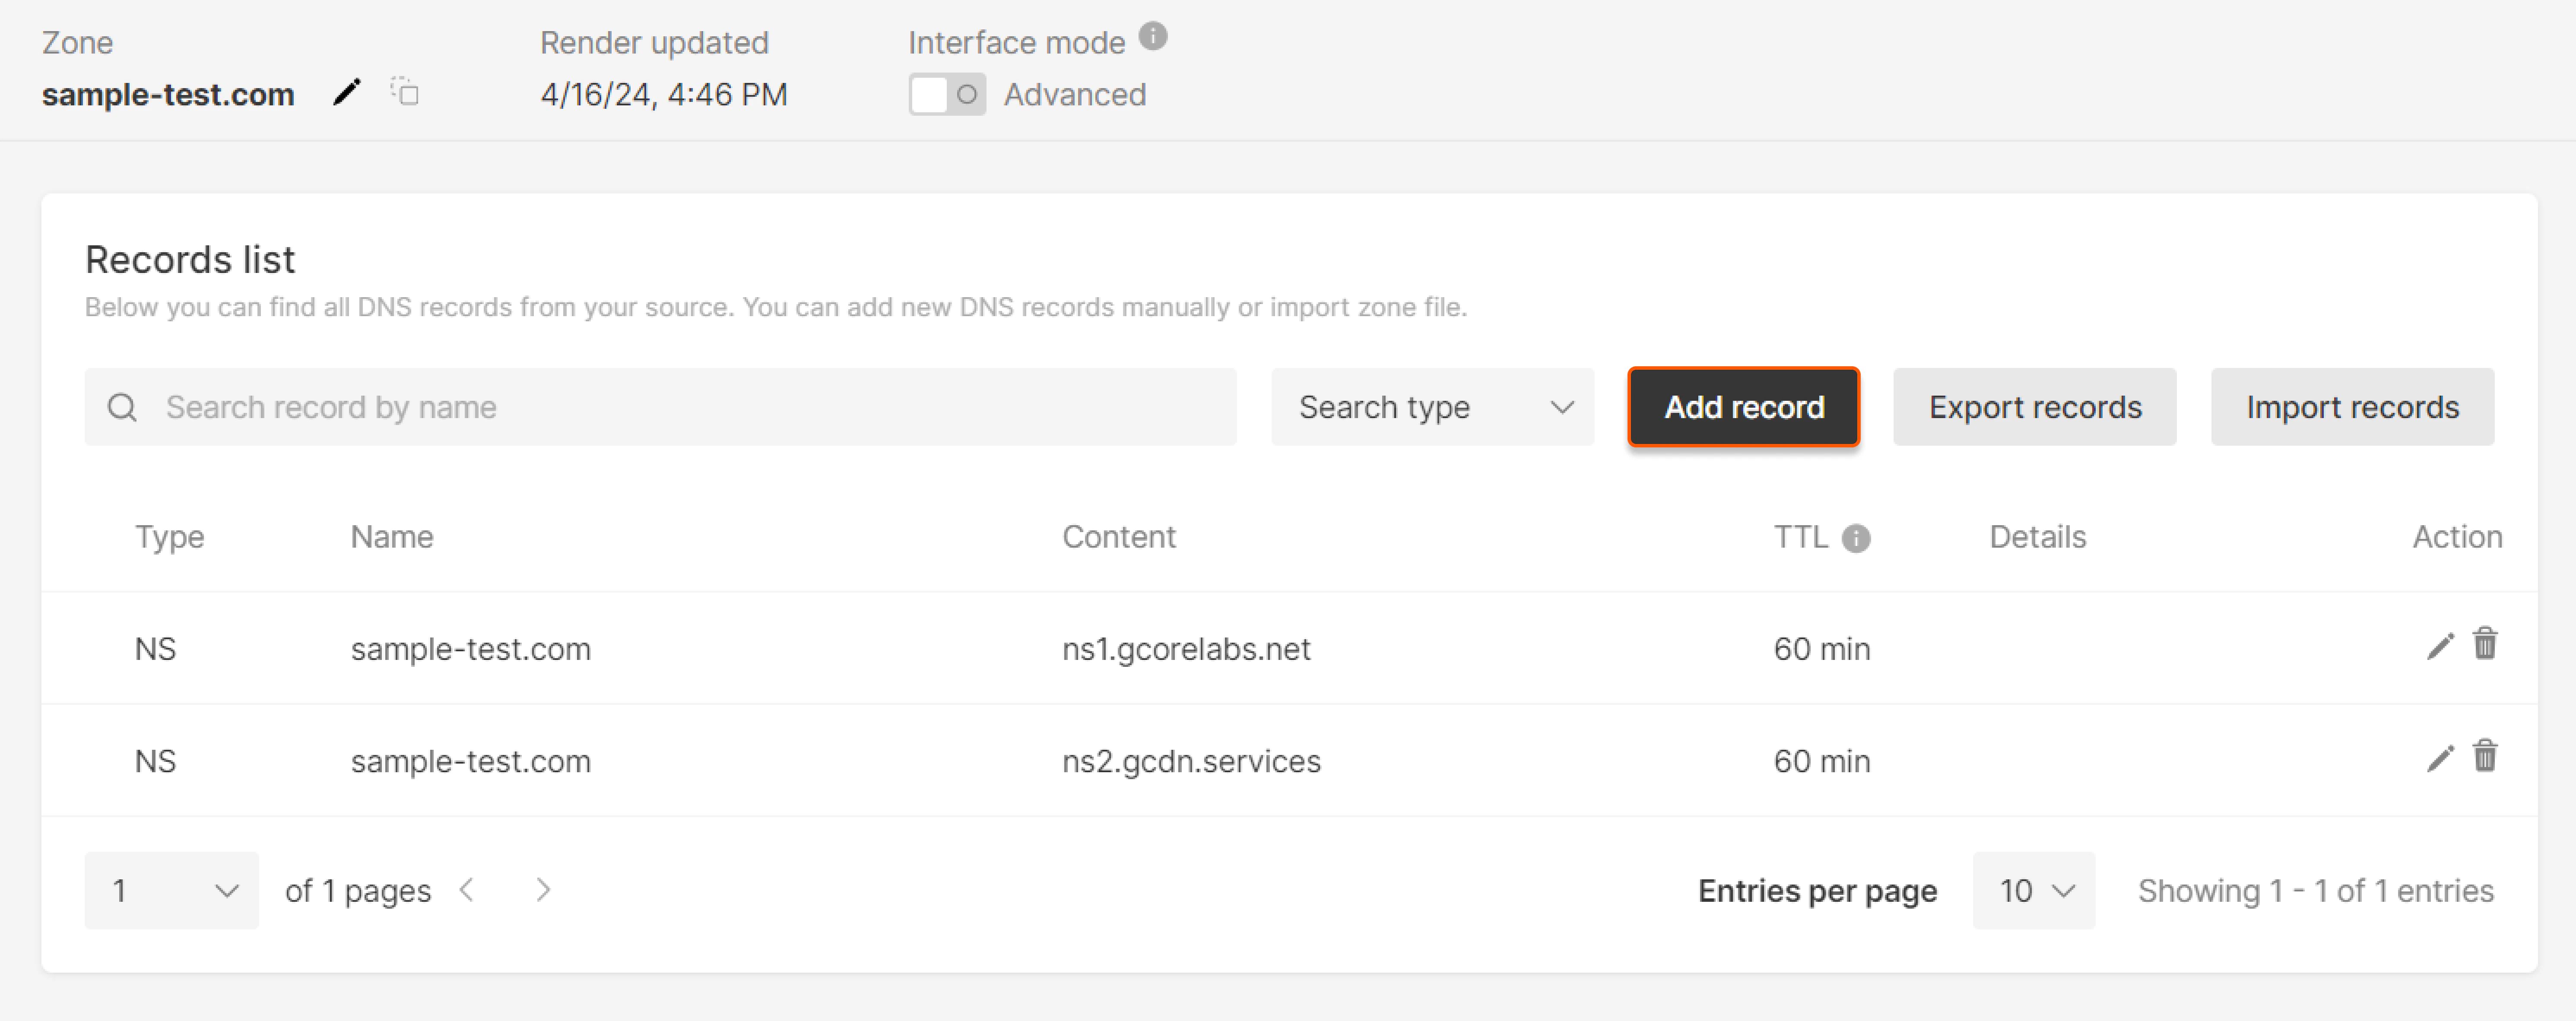 A new window will appear. Perform the remaining steps there.
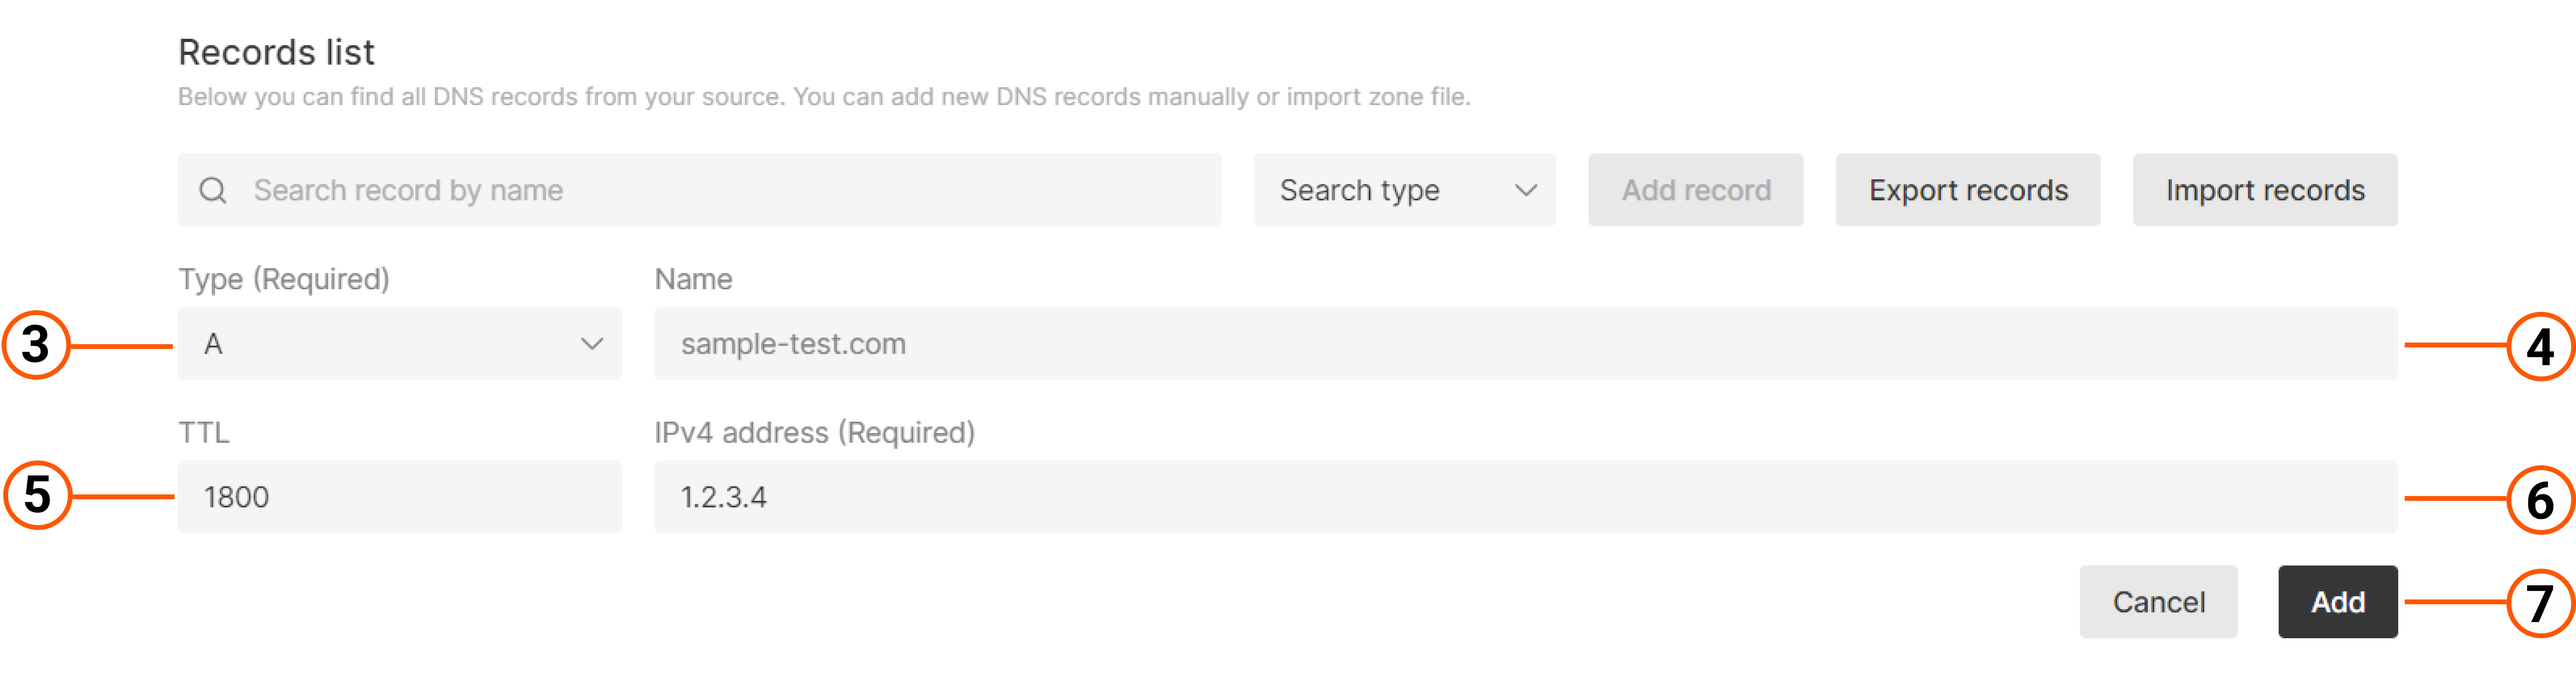 3\. In the "Type" section, select the type of DNS record you want to create: A, AAAA, NS, CNAME, MX, SRV, HTTPS, TXT, or CAA. Learn more in our article on [supported DNS record types](/dns/dns-records).
4\. In the "Name" field, specify the subdomain to which the record belongs. Choose from the following options:
* Leave the field blank to add a record for the main domain (apex/naked domain; in the picture above it is `sample-test.com`).
* Enter the name of this subdomain to add a record for a specific subdomain (for example, if you enter `one`, the record will be created for `one.sample-test.com`).
* Enter an asterisk (\*) to add a record for all subdomains at once (wildcard record).
5\. In the "TTL" field, specify the TTL (time to live) in seconds. For example, an A record has a TTL of 300. You have changed the value of this record from `1.2.3.4` to `5.6.7.8`. Within 5 minutes, when requesting your domain, users will still be sent to a server with IP `1.2.3.4` (this value will be stored in the cache of recursive DNS servers). But after 5 minutes, the DNS server will check the settings and see the new value of the A record and the DNS server will send users to the server with IP `5.6.7.8`.
6\. In the field, enter a value appropriate for your record type.
| **Record type** | **Value** |
| --------------- | ------------------------------------------------------------------------------------------------------------------------------------------------------------------------------------------------------------------------------------------------------------------------------------------------------------------- |
| **A** | The IP address (IPv4) of the server of the web page that will open by your domain name. Example: *128.128.128.128* |
| **AAAA** | The IP address (IPv6) of the server of the web page that will open by your domain name. Example: *7625:0d18:1fa3:07d7:1f44:8a2e:07a0:678h* |
| **NS** | The name of the zone you want to delegate your domain to. Example: *ns1.smth.com* |
| **CNAME** | The domain or domain zone name that your domain should refer to. Example: *uuuuu8.cdn.co* |
| **MX** | The name of the mail server that receives mail for your domain. Example: *ASPMX.L.GOOGLE.COM*
3\. In the "Type" section, select the type of DNS record you want to create: A, AAAA, NS, CNAME, MX, SRV, HTTPS, TXT, or CAA. Learn more in our article on [supported DNS record types](/dns/dns-records).
4\. In the "Name" field, specify the subdomain to which the record belongs. Choose from the following options:
* Leave the field blank to add a record for the main domain (apex/naked domain; in the picture above it is `sample-test.com`).
* Enter the name of this subdomain to add a record for a specific subdomain (for example, if you enter `one`, the record will be created for `one.sample-test.com`).
* Enter an asterisk (\*) to add a record for all subdomains at once (wildcard record).
5\. In the "TTL" field, specify the TTL (time to live) in seconds. For example, an A record has a TTL of 300. You have changed the value of this record from `1.2.3.4` to `5.6.7.8`. Within 5 minutes, when requesting your domain, users will still be sent to a server with IP `1.2.3.4` (this value will be stored in the cache of recursive DNS servers). But after 5 minutes, the DNS server will check the settings and see the new value of the A record and the DNS server will send users to the server with IP `5.6.7.8`.
6\. In the field, enter a value appropriate for your record type.
| **Record type** | **Value** |
| --------------- | ------------------------------------------------------------------------------------------------------------------------------------------------------------------------------------------------------------------------------------------------------------------------------------------------------------------- |
| **A** | The IP address (IPv4) of the server of the web page that will open by your domain name. Example: *128.128.128.128* |
| **AAAA** | The IP address (IPv6) of the server of the web page that will open by your domain name. Example: *7625:0d18:1fa3:07d7:1f44:8a2e:07a0:678h* |
| **NS** | The name of the zone you want to delegate your domain to. Example: *ns1.smth.com* |
| **CNAME** | The domain or domain zone name that your domain should refer to. Example: *uuuuu8.cdn.co* |
| **MX** | The name of the mail server that receives mail for your domain. Example: *ASPMX.L.GOOGLE.COM*
If you are using multiple mail servers, fill in the “Priority” field for each server. The lower the value in this field, the higher the priority. |
| **SRV** | The canonical name of the machine providing the service. Example: *sip.example.com* |
| **HTTPS** | HTTPS is a resource record that provides information and parameters for how to access a web service available via HTTPS.
Example: *example.com. 1800 IN HTTPS 1 . alpn=h3,h3-29,h2 ipv4hint=1.2.3.4,9.8.7.6
ipv6hint=2001:db8:3333:4444:5555:6666:7777:8888,
2001:db8:3333:4444:CCCC:DDDD:EEEE:FFFF* |
| **TXT** | Text information the record should contain. Example: *logmein-verification-code=976afe6f-8039-40e4-95a5-261b462* |
| **CAA** | Defines the certificate authorities who are allowed to issue an SSL/TLS-certificate for the domain name. The record consists of three parts which are separated by a space: *CAA \[flags] \[tag] "\[value]"*.
The "value" must be enclosed in double quotes (").
Example: *0 issue "comodo.com"* |
7\. Click the **Add** button.
That's it. The DNS record with specified parameters will be created. You can check if the created record has been added correctly using the [Gcore DNS Lookup](https://gcore.com/dev-tools/dns-lookup) tool.
## Manage a DNS record
1\. Navigate the [All zones](https://portal.gcore.com/dns/zones) tab and select the domain zone for which you want to manage records (edit or delete). Or, click the three-dot icon on the right and **Go to records**.
2\. To edit the record, click the pencil icon next to the desired record.
3\. Make necessary changes in TTL or/and value in the expandable block.
4\. To delete the record, click the corresponding button.
5\. Apply the new settings by clicking **Save**.