> ## Documentation Index
> Fetch the complete documentation index at: https://docs.gcore.com/llms.txt
> Use this file to discover all available pages before exploring further.
# Company identity on the customer portal
> Set the company name, logo, color, support links, and sign-in address.
export const Caution = ({children}) => {
return ;
};
Customize the Customer Portal with your company's identity, including its domain, logos, and colors. You can also configure the support contacts and resources available to your customers.
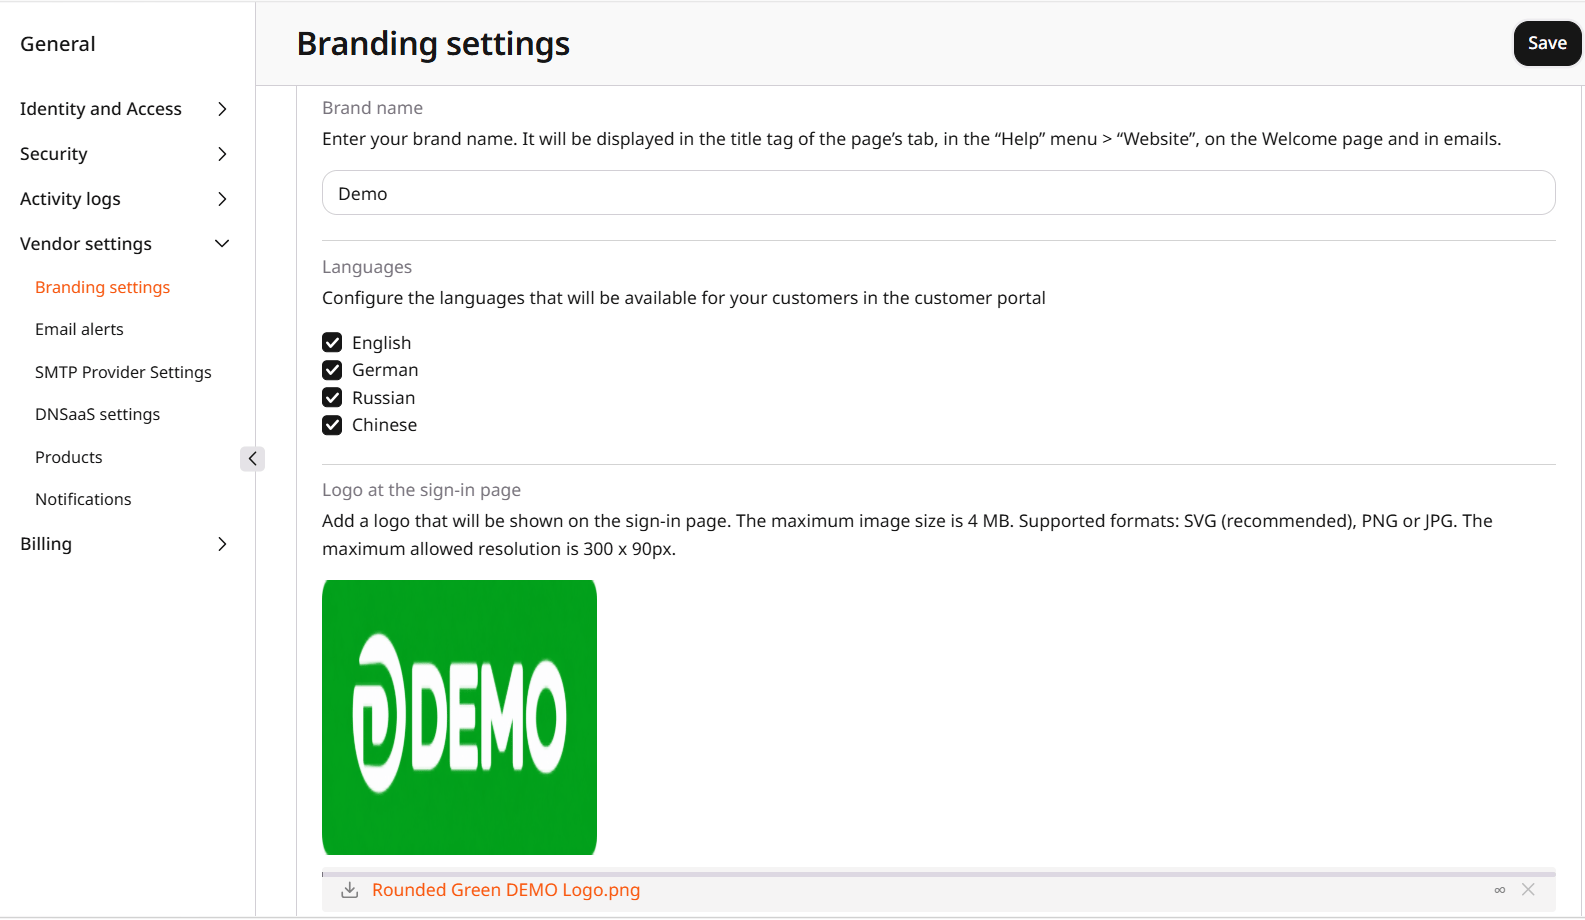
Navigate to **General** > **Vendor settings** > **Branding settings**.
 ## Set up the branded domain
Customers access the sign-in page, Customer Portal, and Gcore products through your company's domain.
Contact your account manager and provide the domain you want to use for your customer portal. [Create the DNS records](/dns/dns-records/manage-dns-records-non-advanced-interface-mode) the account manager specifies. For `example.com`, those records use the hosts below. [Product URLs](/reseller-support/customer-portal/set-up-control-panel-services-urls) lists the hosts of the other products.
| Service | Host |
| - | - |
| Sign-in | `auth.example.com` |
| Customer portal | `portal.example.com` |
| API | `api.example.com` |
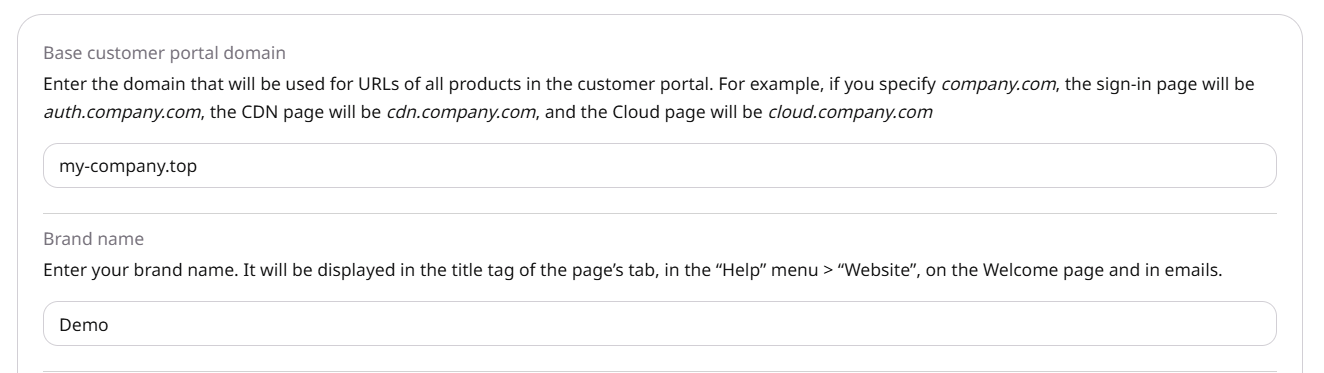
Gcore then completes the setup and sets **Base customer portal domain** to that domain.
Do not change **Base customer portal domain** manually.
On **Branding settings**, read **Base customer portal domain**. The field shows the domain you sent to the account manager after Gcore writes it there. That is the sign that this part of the setup is finished.
## Set up the branded domain
Customers access the sign-in page, Customer Portal, and Gcore products through your company's domain.
Contact your account manager and provide the domain you want to use for your customer portal. [Create the DNS records](/dns/dns-records/manage-dns-records-non-advanced-interface-mode) the account manager specifies. For `example.com`, those records use the hosts below. [Product URLs](/reseller-support/customer-portal/set-up-control-panel-services-urls) lists the hosts of the other products.
| Service | Host |
| - | - |
| Sign-in | `auth.example.com` |
| Customer portal | `portal.example.com` |
| API | `api.example.com` |
Gcore then completes the setup and sets **Base customer portal domain** to that domain.
Do not change **Base customer portal domain** manually.
On **Branding settings**, read **Base customer portal domain**. The field shows the domain you sent to the account manager after Gcore writes it there. That is the sign that this part of the setup is finished.
 ## Customize the portal appearance
Enter the company name in **Brand name**. It appears on the welcome page, in the browser tab, as the sender name in emails, and in the **Website** item of the **Help** menu.
Upload your logos and favicon using the following fields:
| Field | Where it appears | Requirements |
| - | - | - |
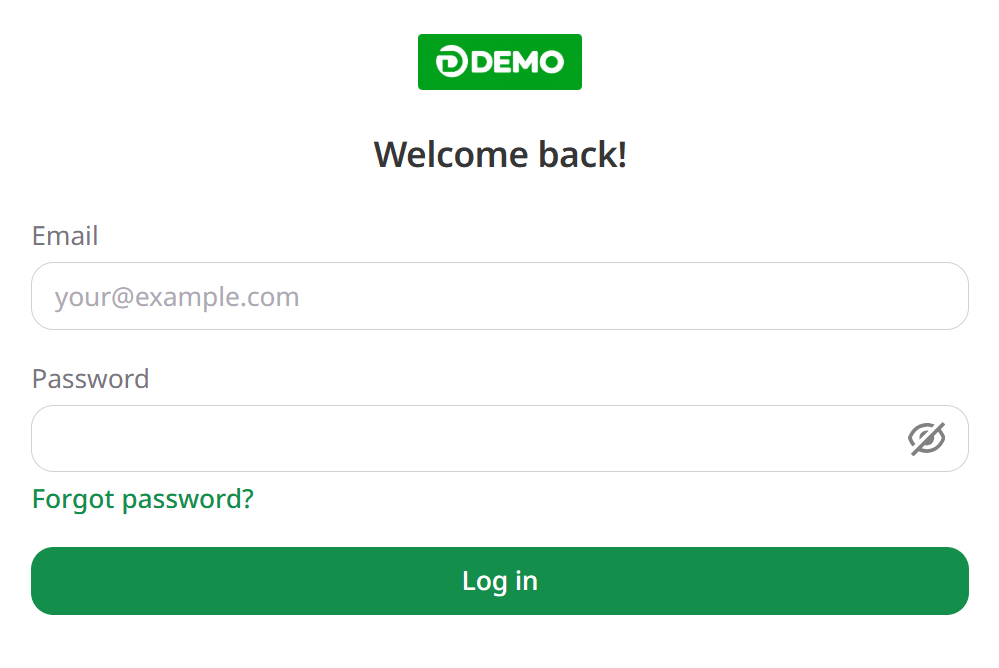
| **Logo at the sign-in page** | Customer sign-in page | SVG (preferred), PNG, or JPG; up to 4 MB; 300 x 90 px |
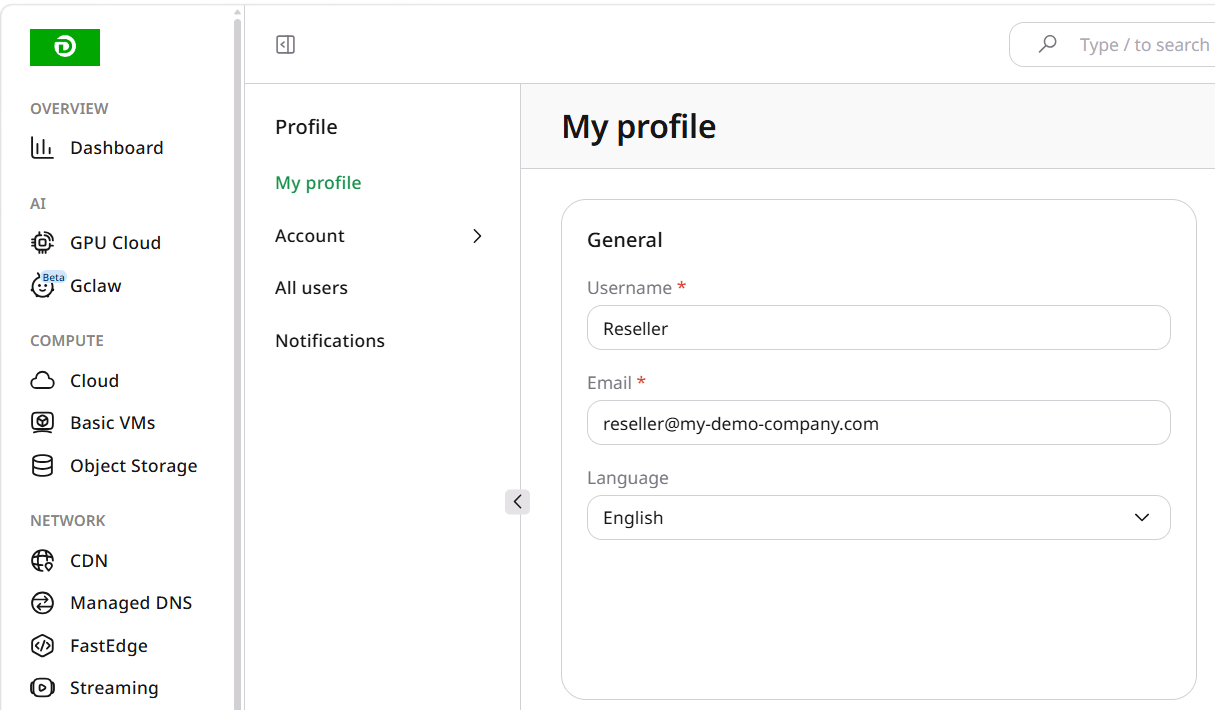
| **Header logo** | Customer portal menu and email | SVG (preferred), PNG, or JPG; up to 4 MB; 75 x 40 px |
| **Favicon** | Browser tab | ICO; 16 x 16 px |
Select a **Brand color** for the **Log in** button, selected menu items, and links and product icons on hover.
Click **Save**.
## Customize the portal appearance
Enter the company name in **Brand name**. It appears on the welcome page, in the browser tab, as the sender name in emails, and in the **Website** item of the **Help** menu.
Upload your logos and favicon using the following fields:
| Field | Where it appears | Requirements |
| - | - | - |
| **Logo at the sign-in page** | Customer sign-in page | SVG (preferred), PNG, or JPG; up to 4 MB; 300 x 90 px |
| **Header logo** | Customer portal menu and email | SVG (preferred), PNG, or JPG; up to 4 MB; 75 x 40 px |
| **Favicon** | Browser tab | ICO; 16 x 16 px |
Select a **Brand color** for the **Log in** button, selected menu items, and links and product icons on hover.
Click **Save**.
 ## Configure customer support and Help links
Enter **Support phone number** and **Support email** to add your contact details to the **Help** menu.
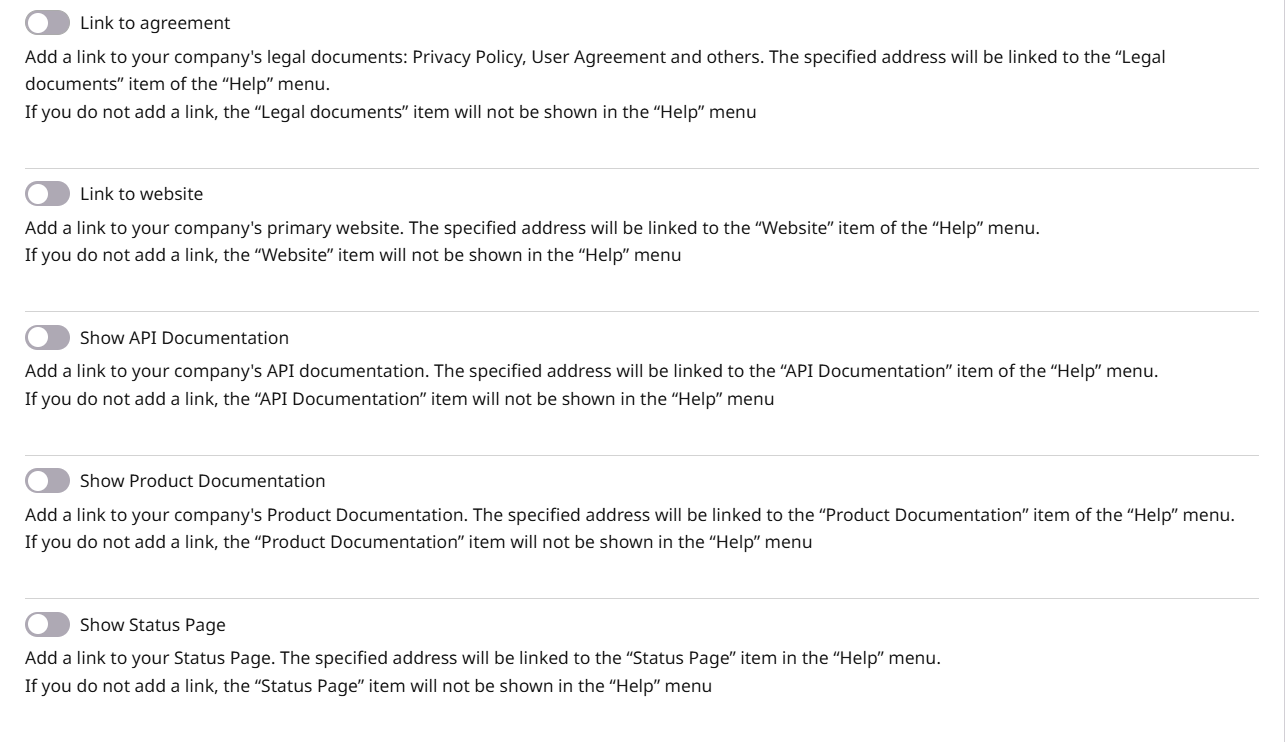
To add links, enable the corresponding options and enter their URLs. **Link to agreement** appears as **Legal documents**, and **Link to website** appears as **Website**. Links without a URL or with their option disabled are hidden.
Click **Save**.
## Configure customer support and Help links
Enter **Support phone number** and **Support email** to add your contact details to the **Help** menu.
To add links, enable the corresponding options and enter their URLs. **Link to agreement** appears as **Legal documents**, and **Link to website** appears as **Website**. Links without a URL or with their option disabled are hidden.
Click **Save**.
 ## Configure customer account behavior
Enable **Show Create a new account** to allow customers to create multiple accounts with the same email address and switch between them in **Profile**. Otherwise, customers can register only one account per email.
Enable **Portal Mode** to redirect customers to the portal domain after signing in.
Under **Languages**, select which of the available languages — English, German, Russian, and Chinese — your customers can use.
Click **Save**.
## Configure customer account behavior
Enable **Show Create a new account** to allow customers to create multiple accounts with the same email address and switch between them in **Profile**. Otherwise, customers can register only one account per email.
Enable **Portal Mode** to redirect customers to the portal domain after signing in.
Under **Languages**, select which of the available languages — English, German, Russian, and Chinese — your customers can use.
Click **Save**.