

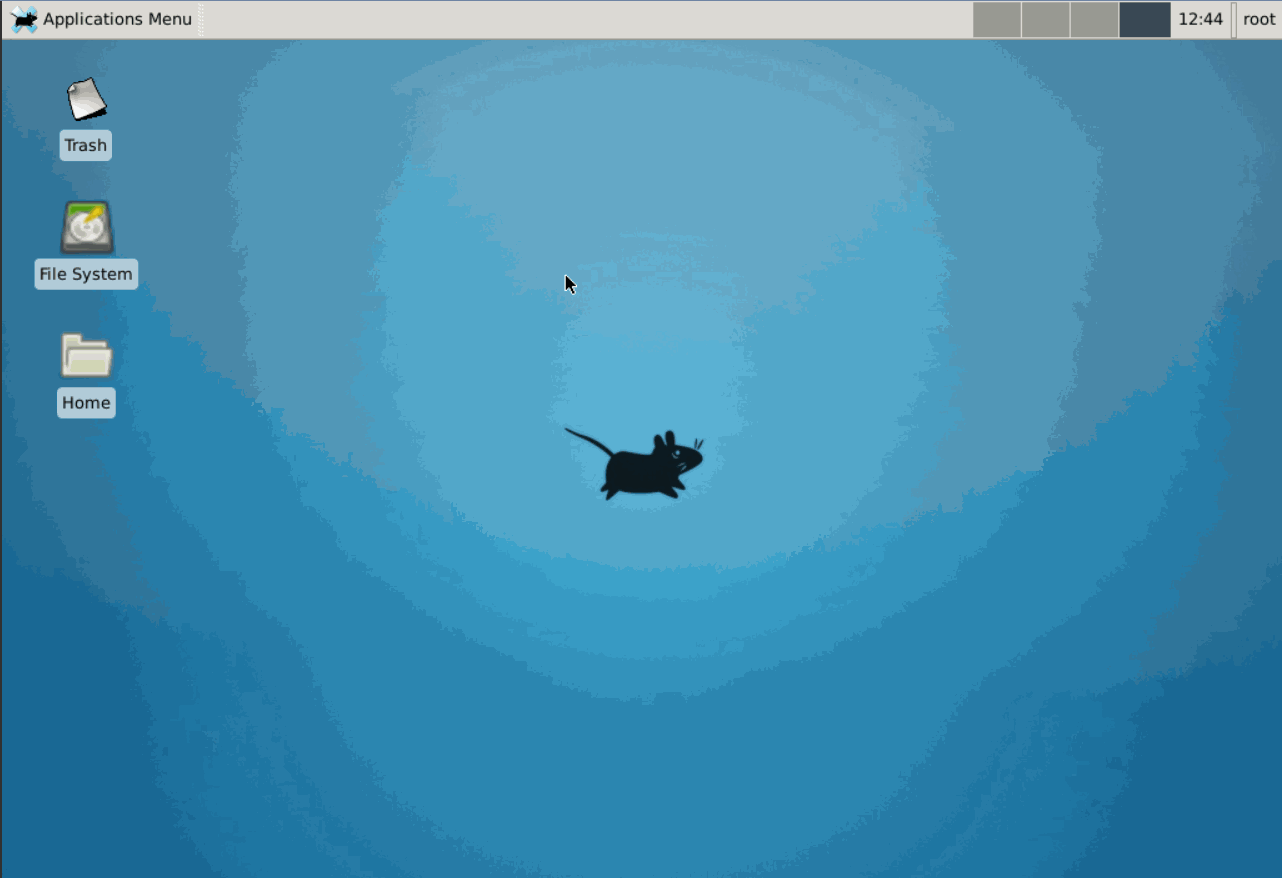
Install XFCE
Select the tab that matches the server OS.- Ubuntu
- CentOS
- Debian
1. Update the package list:2. Install the XFCE environment and additional components (panel, file manager, and various plugins):The system warns that the installation requires several hundred megabytes of disk space.

The system warns that the installation requires several megabytes of disk space.

yA dialog appeared — select a display manager
A dialog appeared — select a display manager
The installer prompts to choose between gdm3 and lightdm. Select lightdm and press Enter.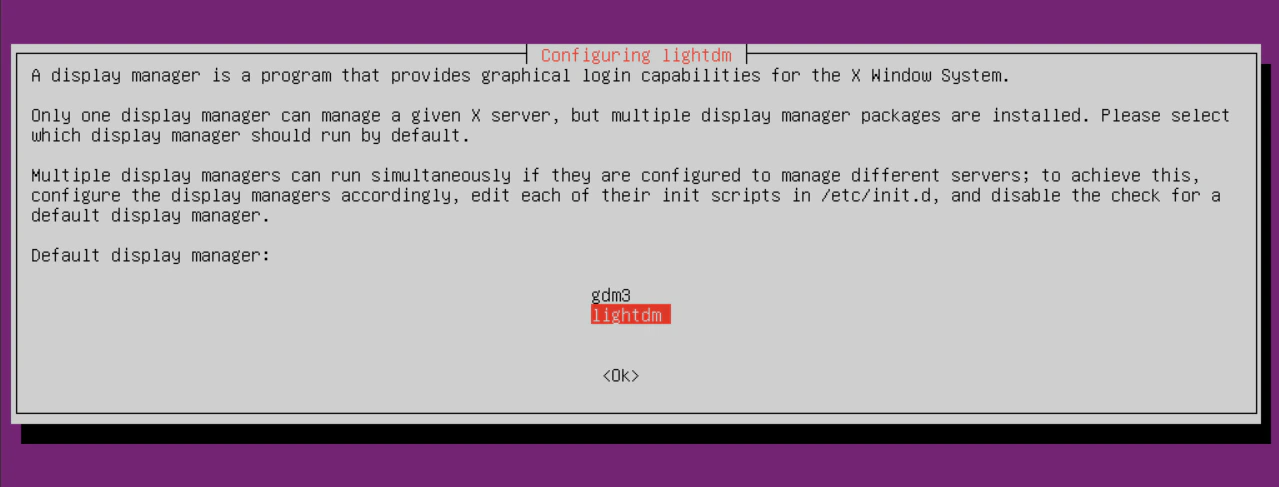
No dialog appeared — install xinit manually
No dialog appeared — install xinit manually
ylightdm was installed in step 3, reboot the server — the graphical interface starts automatically:xinit was installed in step 3, start the graphical interface directly:

First start
On first start, XFCE prompts to select a panel configuration. Select Use default config to get the taskbar, clock, and pre-configured Applications menu. The empty panel option requires manual configuration.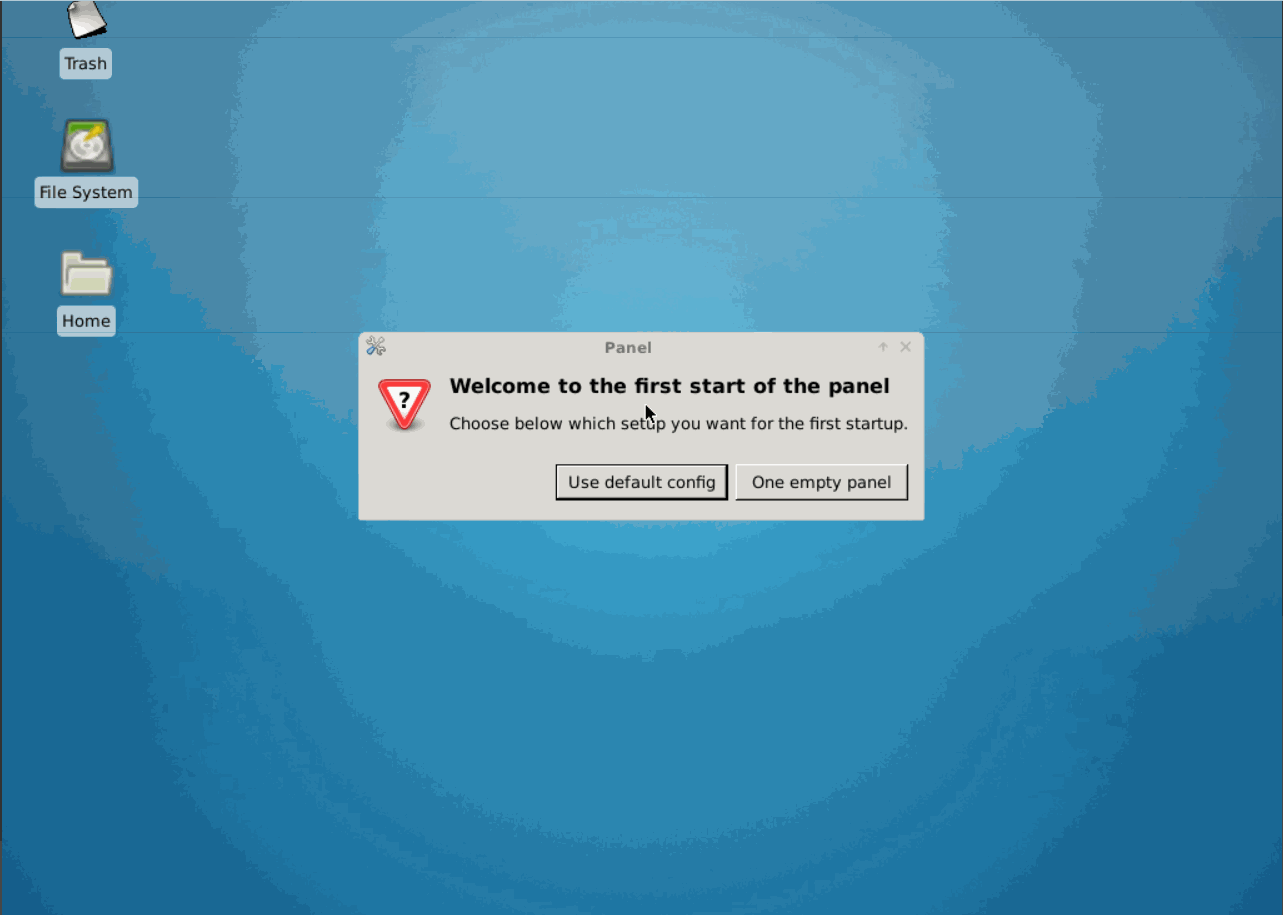
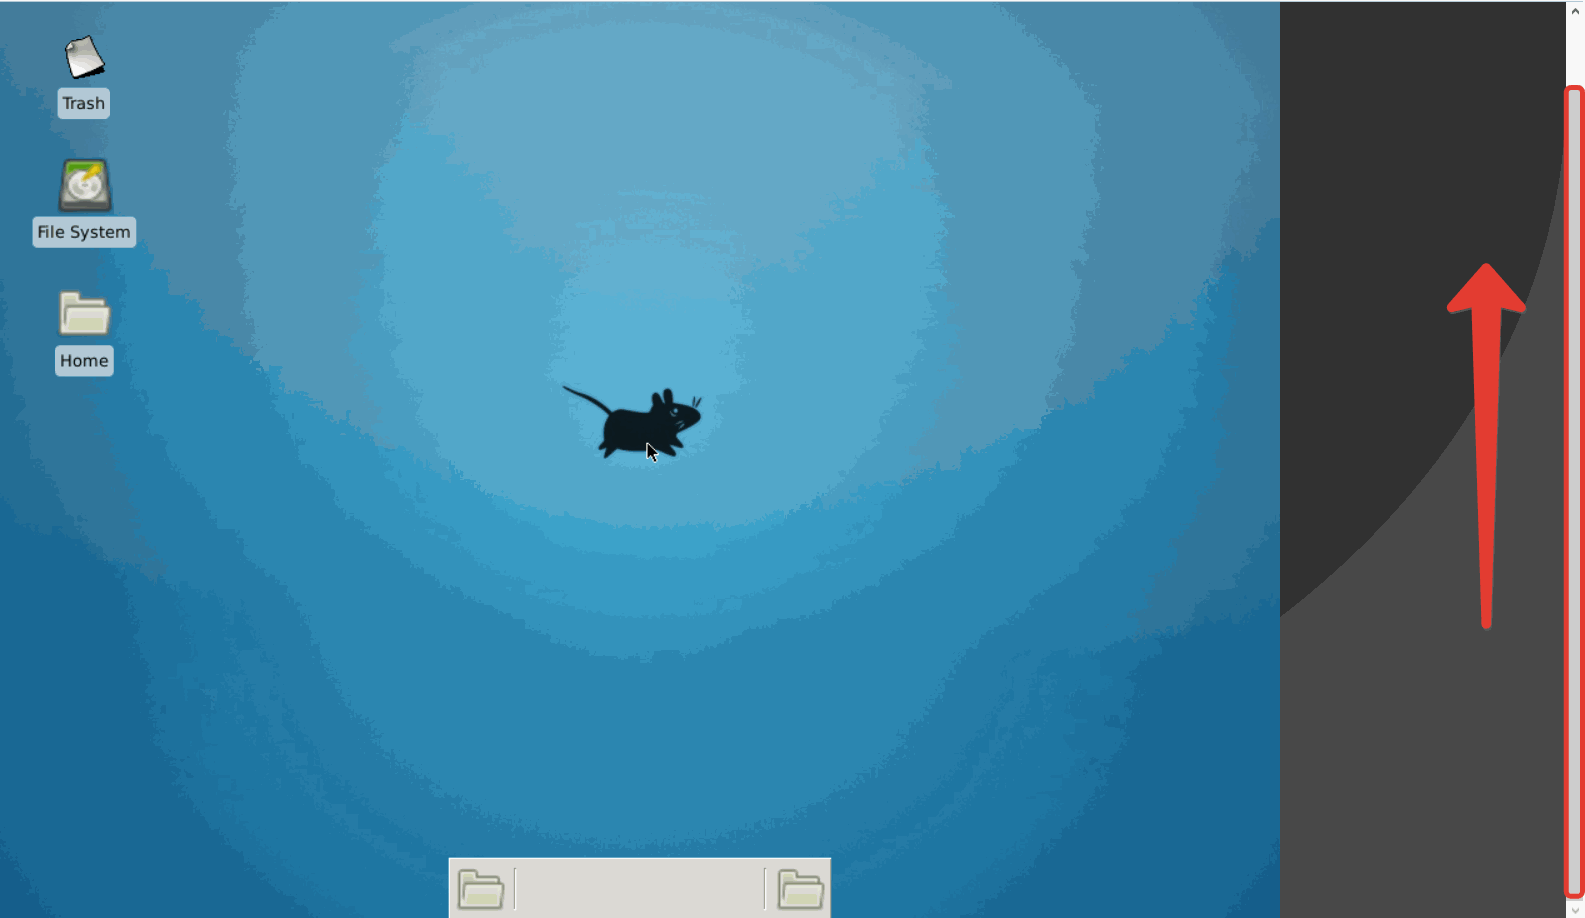
lightdm, the desktop starts automatically on each server boot. On CentOS and Debian (and Ubuntu with xinit), the terminal opens after a reboot — run startx to start XFCE again.
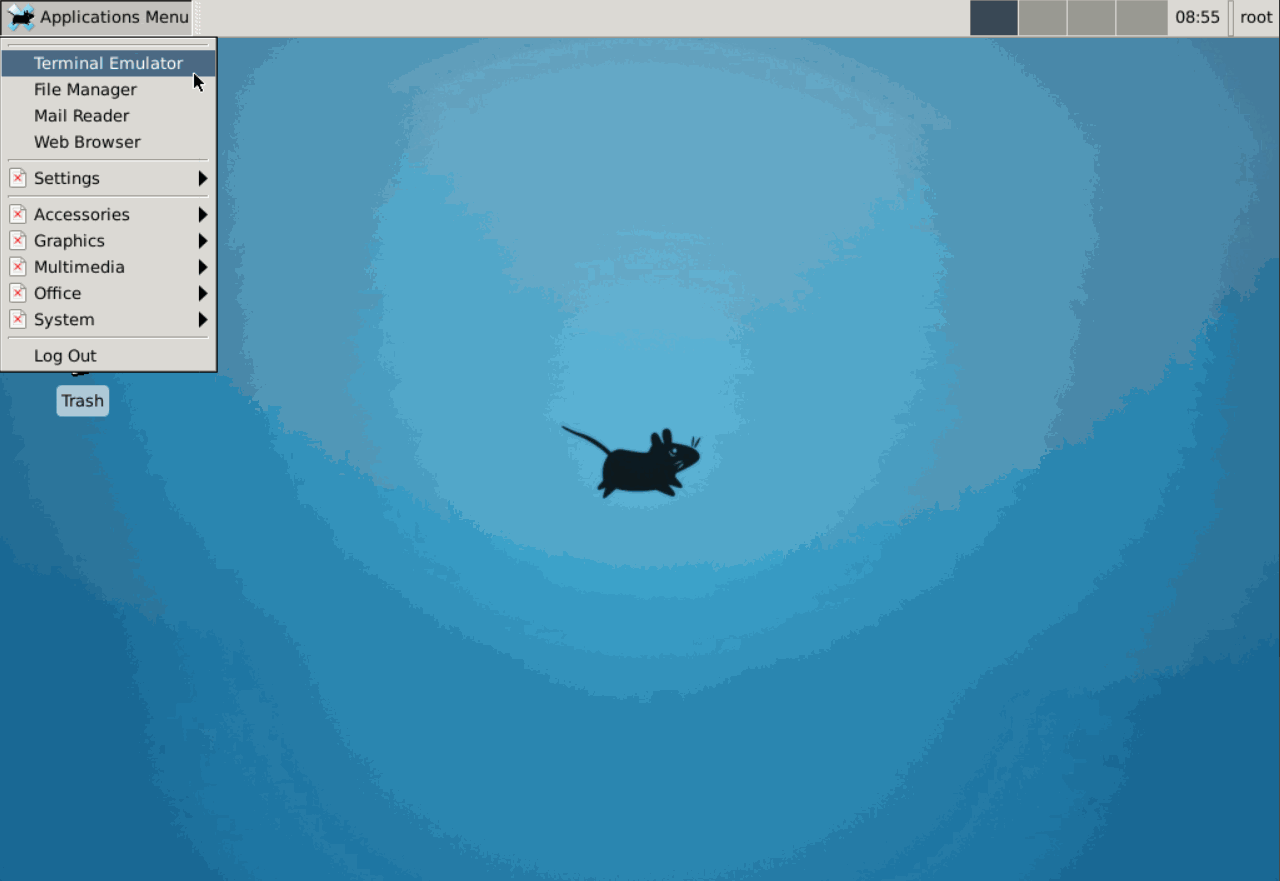
To open a terminal inside XFCE, click Applications in the upper-left corner and select Terminal Emulator.
Log out
Logging out of XFCE returns the session to the terminal. On Ubuntu with lightdm: press Ctrl+Alt+F1 — the session returns to the terminal immediately. The desktop restarts automatically on the next server boot. On CentOS, Debian, and Ubuntu with xinit: 1. Click Applications in the upper-left corner and select Log Out from the menu.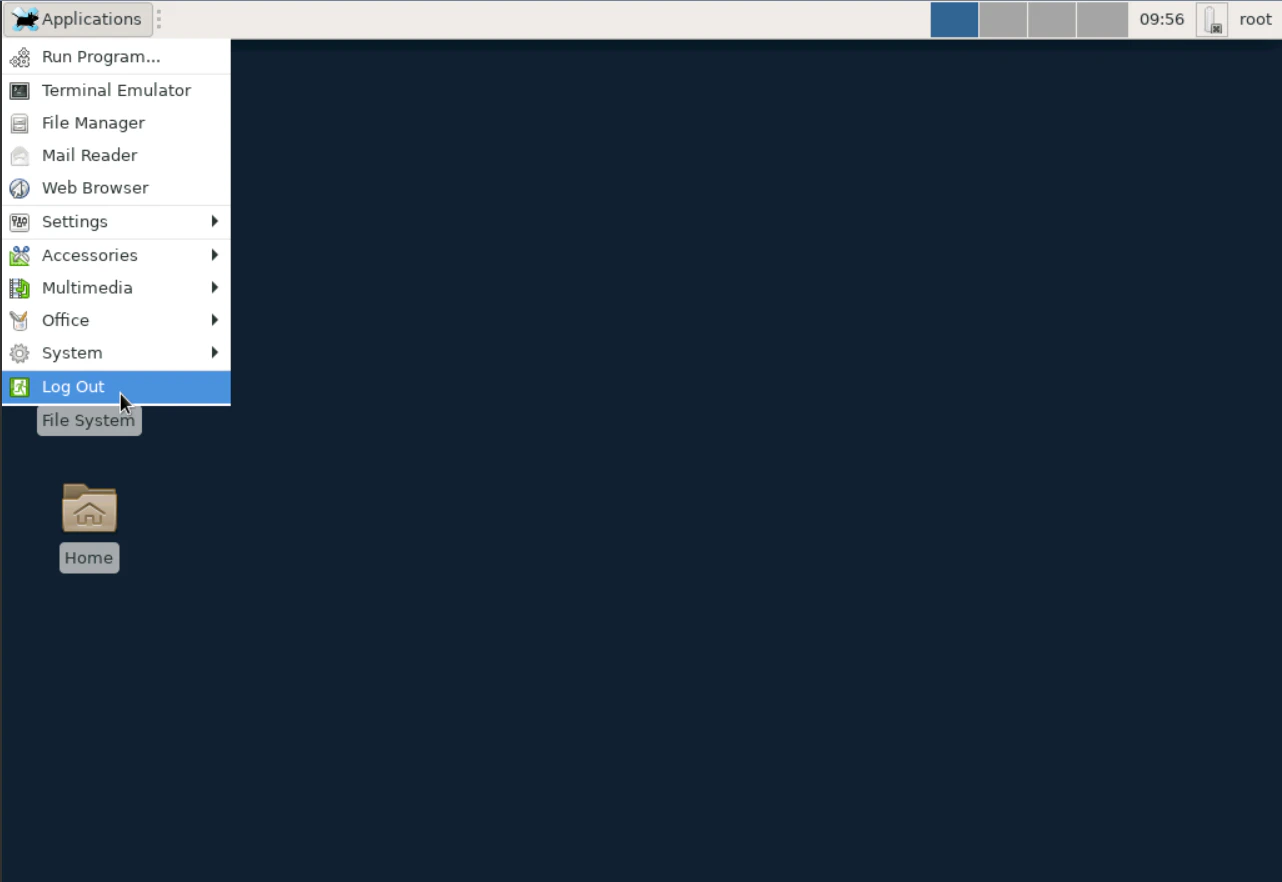
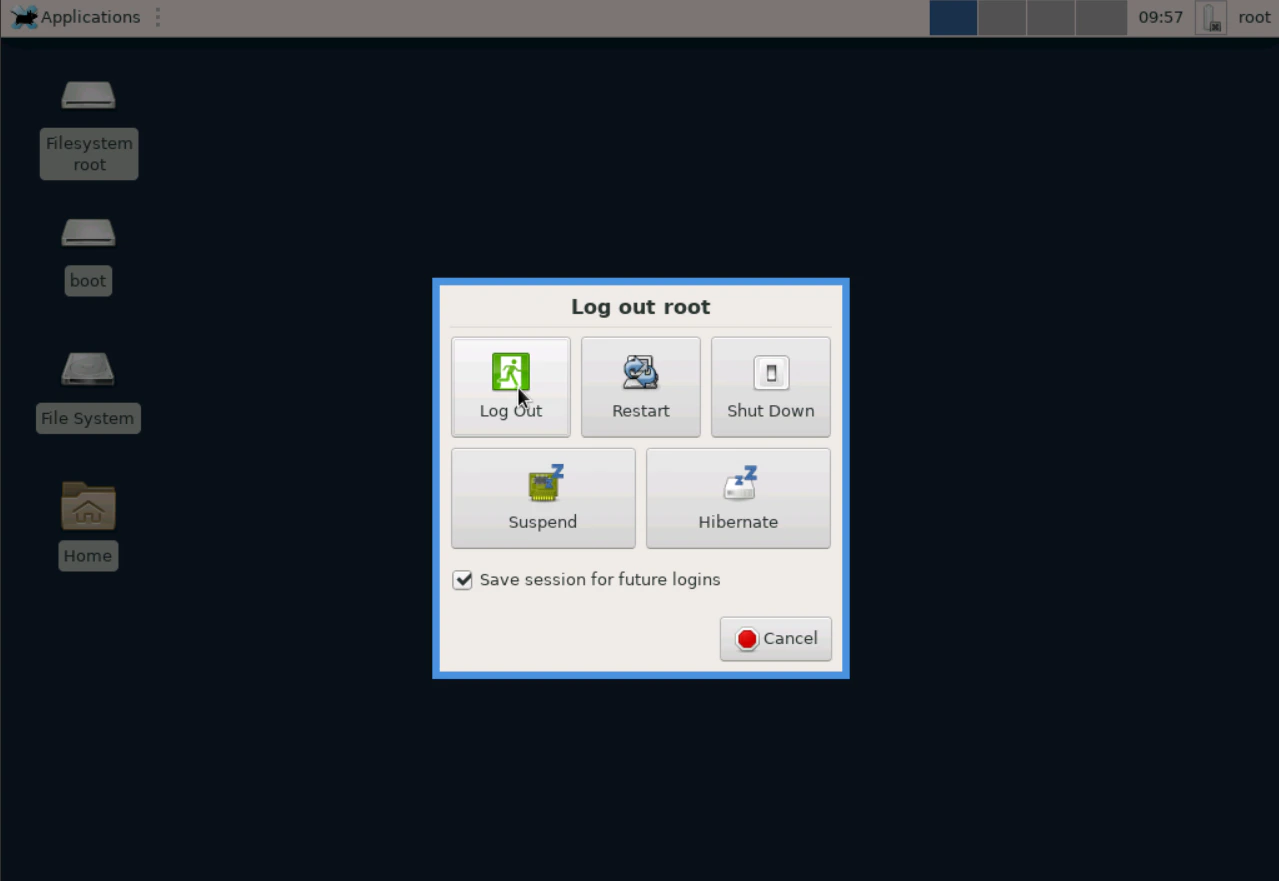
startx.